Mr. Esty asked me recently how the levers and handles I use for my trucks are built. Above is an example of the type of hatch which i will make in this tutorial.
Its a very simple tutorial and uses up lots of off cuts of plasticard, so its usefull if you have some scraps lying around. I cant throw any plasticard out, much to my families dismay!
So first here is the list of tools and materials i used.
1 sharp craft knife, 1 pair of pliers with wire stripping cababilities, 1 pencil, 1 file, revel proffessional polystrene cement (its very accurate for this kind of detail), 1 pair of clippers, super glue, a metal ruler, a wet and dry pad, some thin rod (1mm and .5mm diameter), an offcut of plasticard and a paperclip. Not pictured is a pin vice, you will also need one of those, I just couldnt find mine when I took the snap.
I started by ruling out the shape I needed for the hatch on the offcut of plasticard.
Then I simply cut it out, and with a file rounded the edges. I also used the wet and dry pad to make it extra smooth.
Then I measured the plastic rod up to make a hinge where the hatch would be attached from.
As you can see I did this by putting the thin rod close to the hatch and simply guessing how long I would need the hinge and how much rod I would need. It also helps to tape or bluetack the rod down whilst making the marks, making the process a bit less fiddly.
Next I simply cut a groove into the back of the hatch for the rod to fit.
And glued it in place
As you can see above I have drawn where I want the opening lever to go. Now onto building the lever...
Firts up, I grab another scrap of Plasticard with a straight edge. This doesnt need to be a big pice, just enough to cut a very thin strip, about 1mm thick from.
Then I take the thin offcut and hold it at then ends between my finger and thumb.
I then roll it back and forth until there is a natural curve in the middle which is retained when I let go. Nothing very precise about this action as you can see
Then I simply cut out as much of the curved area as I need, hoever keep the other offcuts close at hand as they will be used.
Its just a matter of gluing the curved bit into place in the corner of the hatch.
Then simply add the two offcuts on either side of the curved bit, pointing straight towards the centre. These may need cut down, depending on how long they are, they usually need to be about 3 mm or so.
Now we begin work on the actual lever itself. This is done using the two thicknesses of rod.
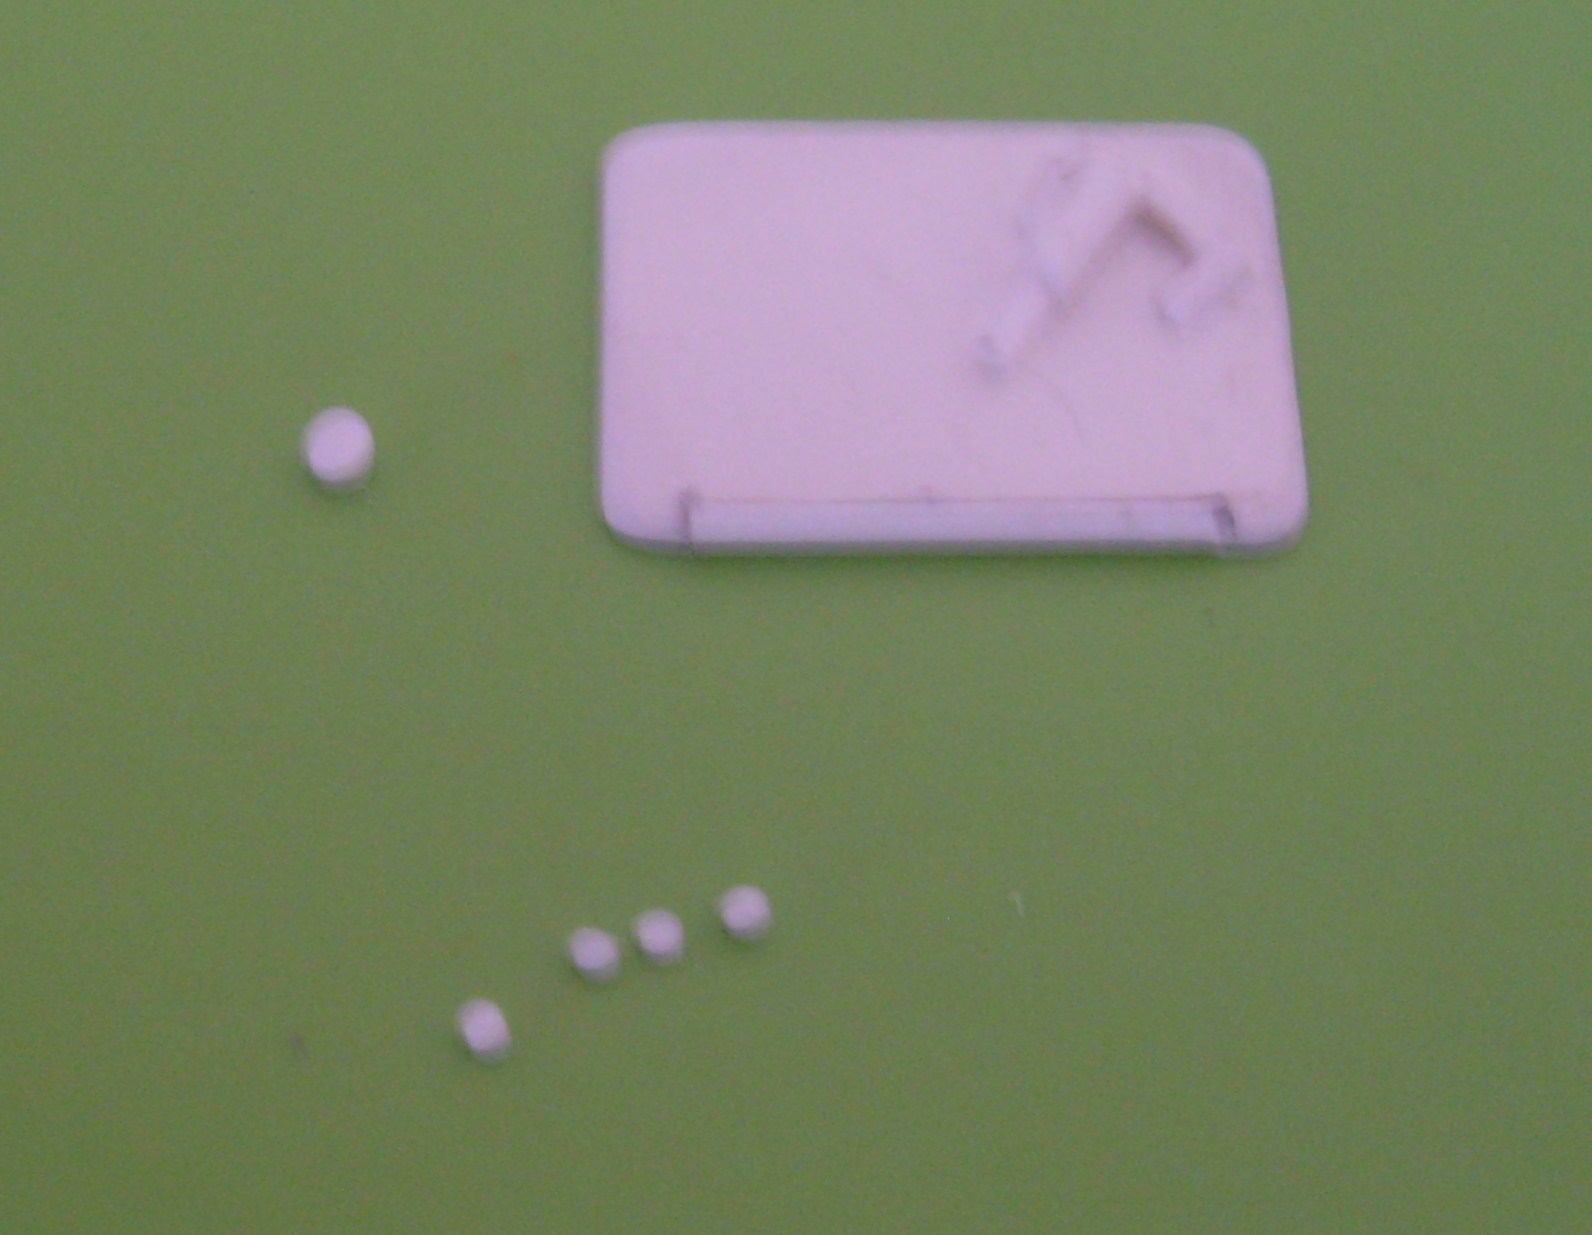
You will need to cut two section of the 1m diameter rod. one to the length of about 3 or 4mm. The other only about 0.5mm (like a rivet)
Then cut 5 lengths of the .5mm diameter rod. One around 2 or 3mm, the rest about 0.5mm (to be used as rivets.
We then glue these into place. Starting with the long section of 1mm rod. This goes into the top left hand corner of the semicircle as so...
Then we add the longest section of 0.5mm rod directly on the bottom of this. (apologies for the pictures, my camera screen is cracked and its a bit difficult to tell wether the macro is on or not.)
Then we add the 1mm rod rivet directly below the thin rod. As a rough guide this should be around halfway across the hatch.
The four final rivets are simply added to the four corners of the hatch.
Then we move onto the handle at the front of the hatch. We take the paperclip and bend it out straight.
Then we strip a good portion of the plastic coating off the wire.
and then we bend a small U shape in the paperclip.
After this is clipped off, lay it down beside were you would like it to be positioned and make two pencil marks where you would like the holes. Then simply drill the holes with a pin vice.
I would usually drop it into place and glue the handle in place from the underneath, using super glue.
And Voila. One completed hatch. I have previously used green stuff to produce the rods needed, and this works quite well...
...As demonstrated on the truck above
I hope this has been useful, I find this process quite fulfilling as it is usually done after all the major bodywork has been done to a model, and this detail just makes the vehicles come alive. If anyone has any other ideas, I would love to hear them too!


Great job!
ReplyDeleteI posted a link to this on my blog :)
I wasn't aware that there was that much detail and work in it.
ReplyDeleteHope it helps Mr.Esty. Thanks for posting the link.
ReplyDeleteIts quite a bit of work, but it gets quicker with practice.