

I still have a few to build since then as I only managed to get one squad of three lascannons finished. These little vehicles where named hoplites, (as centaur was already taken.) and they where named by Markey from 40konline after an online poll.
I was originally inspired by this vehicle...
http://i112.photobucket.com/albums/n167/Union-J/TanketteScale.jpg
I started by drawing a design idea. It was done very roughly and with my poor drawing abilities, so you will have to bare with me!

From this I was able to determine what shape the flank was going to be. I drew it roughly onto a sheet of plasticard.

I then ruled off the lines to make them even and measured the length and depth, ensuring the shape was balanced and straight. This is a bit of guess work and having a set square and a 360 degree protractor lying about sure is handy.
I then cut this out and rounded it off

This gave me a template, from which I could produce more flanks.

I then traced around the template onto more plasticard. It’s worth noting at this point that when you trace the template the size of the flank is increased by a small margin. Therefore it is always best to file down the template so that it is slightly smaller than you want the finished product to be!
Once I had them traced I cut out two of the flanks.

I then filed them down and used some wet and dry paper to smooth off the edges. I find that the wet and dry leaves a very fine finish on plasticard, and helps smooth joins.
After I had the flanks finished I began to work on the main body. Rather than drawing and cutting out each individual rectangle of plastic I would need to build the driver compartment and main chassis, I instead cut out one long thin strip of plasticard. This was 35 mm in width.

This allowed me to measure the cut by placing the flanks beside the strip of plasticard and measuring each side.


Once this piece is assembled I moved onto the rear portion of the chassis. As the vehicle has a loading bay type area, the rear portion only goes up to the middle of the back.
[Sorry, no pictures here, forgot to take one in my enthusiasm! Doh!]
Then I placed a long strip of plastic that filled in the loading bay Like so:

Ok. Second part of this now. Starting by adding the front plate. Again this is done using he strip of 35mm plasticard, measured out to the correct length.
Then I added another piece to make a backrest for the driver and a partition between the driver and the rear bay.

Then I cut a length of plasticard to fit over the front portion of the cab.

I then built the driver arms and torso. I started with the arms, using two of the Cadian lasgun support arms

I clipped off the elbows and stuck them to a torso.


I added a small length of sprue to the bottom of the torso to provide support when positioning the body into the drivers position

I measured up the front cover against the driver, clipped it down and then glued it into position. This looks quite rough but the detail added later will cover this.

And so on to the weapons mount.
I basically kept this bit nice and simple. I took the tripod stand from a heavy weapons sprue


Then I simply added the weapon

First of all I sorted out the weapon guard.
I took a strip of plasticard measured up beside the lip above the driver compartment
Then I clipped it down with a chamfered off edge, making sure that when it’s in position the weapon can swivel at least 45 degrees.So that it looks something like this

It’s time to get the track wheels and the armoured skirts on
I put on the road wheels (track wheels or whatever you want to call them! ) These where taken from the old chimera/leman russ kits track sprues. I was devastated when they got rid of these. There was no better way to get tracks onto a scratchbuild. Ive got a few sprues left, but not nearly as many as I would like. I will probably be thinking about building and casting my own track units soon.

I used 5 per side and put them on the edges of each corner. I made sure the bottom row hung over the edges more than the top ones, insuring that the vehicle had enough of a clearance.
Then I had to make the armoured skirts for the flanks, to cover up the road wheels and the track workings.
To get a template made I put black paint on the raised lops of the road wheels, and then pressed it onto a spare scrap of plasticard.


Then I drew a rough outline of what I wanted the armoured skirt shape to be.
I ruled around this, and carefully rounded off the edges, cut it out and filed it down.


I checked the template fitted in with the size needed, and proceeded to trace out two more side skirts.

Which I then applied to the vehicle

Moving in to complete the hoplite weapons carrier now that all the major body work is done.
I had to build up the detail on the armoured flanks first of all. I drew round the template I had for the armoured side skirt.

Then I sketched out the design I wanted on the flank. I took my inspiration from the chimera and Leman Russ for this as they have little raised teeth with rollers in the middle and so I came up with this design

I tidied this up and cut out the template


I then began riveting the tanks flanks.
To do this I rolled out some green stuff in a long thin sausage. I wanted it to be slightly thinner than the cadian vox mast.


I carefully attached them onto the vehicle. I carefully placed them onto my finger, dabbed some glue where I wanted them and then pressed them into place.
I used some spare sentinel legs to gain some of the road wheel rollers.

I carefully sliced them off with a scalpel (please be careful when doing this, I now leave a few weird shapes in my finger prints because of this process!)
and attached them to the raised detail on the flanks

So just some finishing touches left to do. Some more rivets around the front.
Then I added one of the spotlights from the rhino kit.

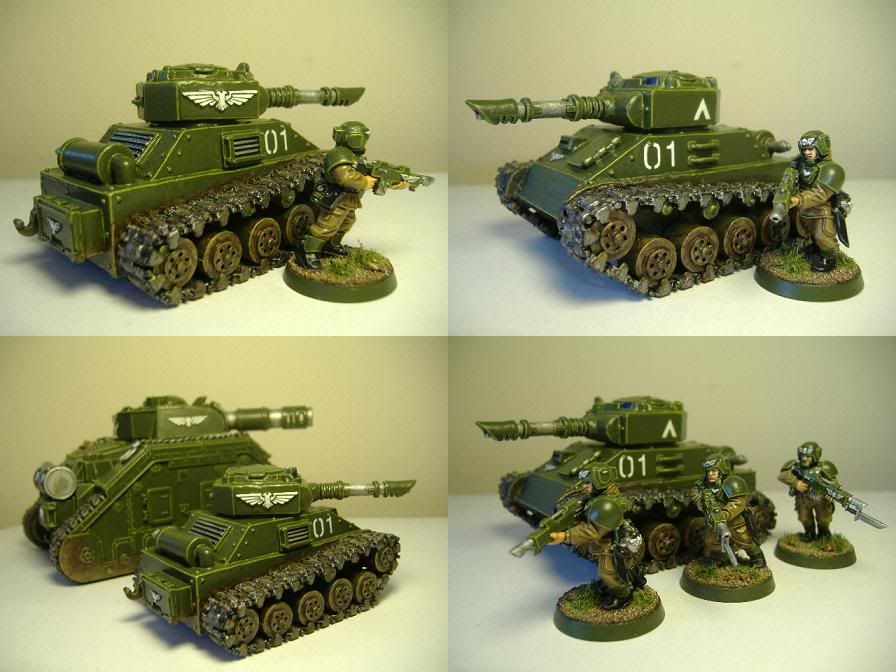
A few more rivets and here she is beside her brothers and sisters. They are all in varying degrees of completion, and I plan two more variants, the engineering hoplite and the armoured crew compartment variant hoplite.

I have one more painting tutorial on how to paint 40th Corps (grey and Blue) Vehicles. Hopefully get this up in the next few days!
This makes me want to make a IG army more than anything else ever has.
ReplyDeleteGlad you like this. If you do start guard, let me know. There are loads of great guard sites out there.
ReplyDeleteHi - great blog, mate, and cracking conversions!
ReplyDeleteI share your dismay at the demise of the old tank tracks, but you don't need the wheels at least, once the tracks are in situ. I've found that spacing the tracks using a couple of old bits of track for width works just as well, and simply rounding out the corners...
Did you catch this:
http://admiraldrax.blogspot.com/2011/07/274-assault-craft-finished-pics.html ?
I'll add you to the roll...
- Drax.
I've been looking through some of your posts and these home made tanks are fantastic! I love them as an alternative to sentinel.
ReplyDelete@ Col. Winterborne- I think they fit the role quite well. I've been using them for years and I haven't had any complaints about the model rep.
ReplyDelete@Admiral Drax- Love that assault craft. looks sweet. I've wanted to try my hand at one of those for a while. I've been thinking about taking this route for a while to save on parts, though I have also been considering scratch building and casting up my own road wheels and tracks.