
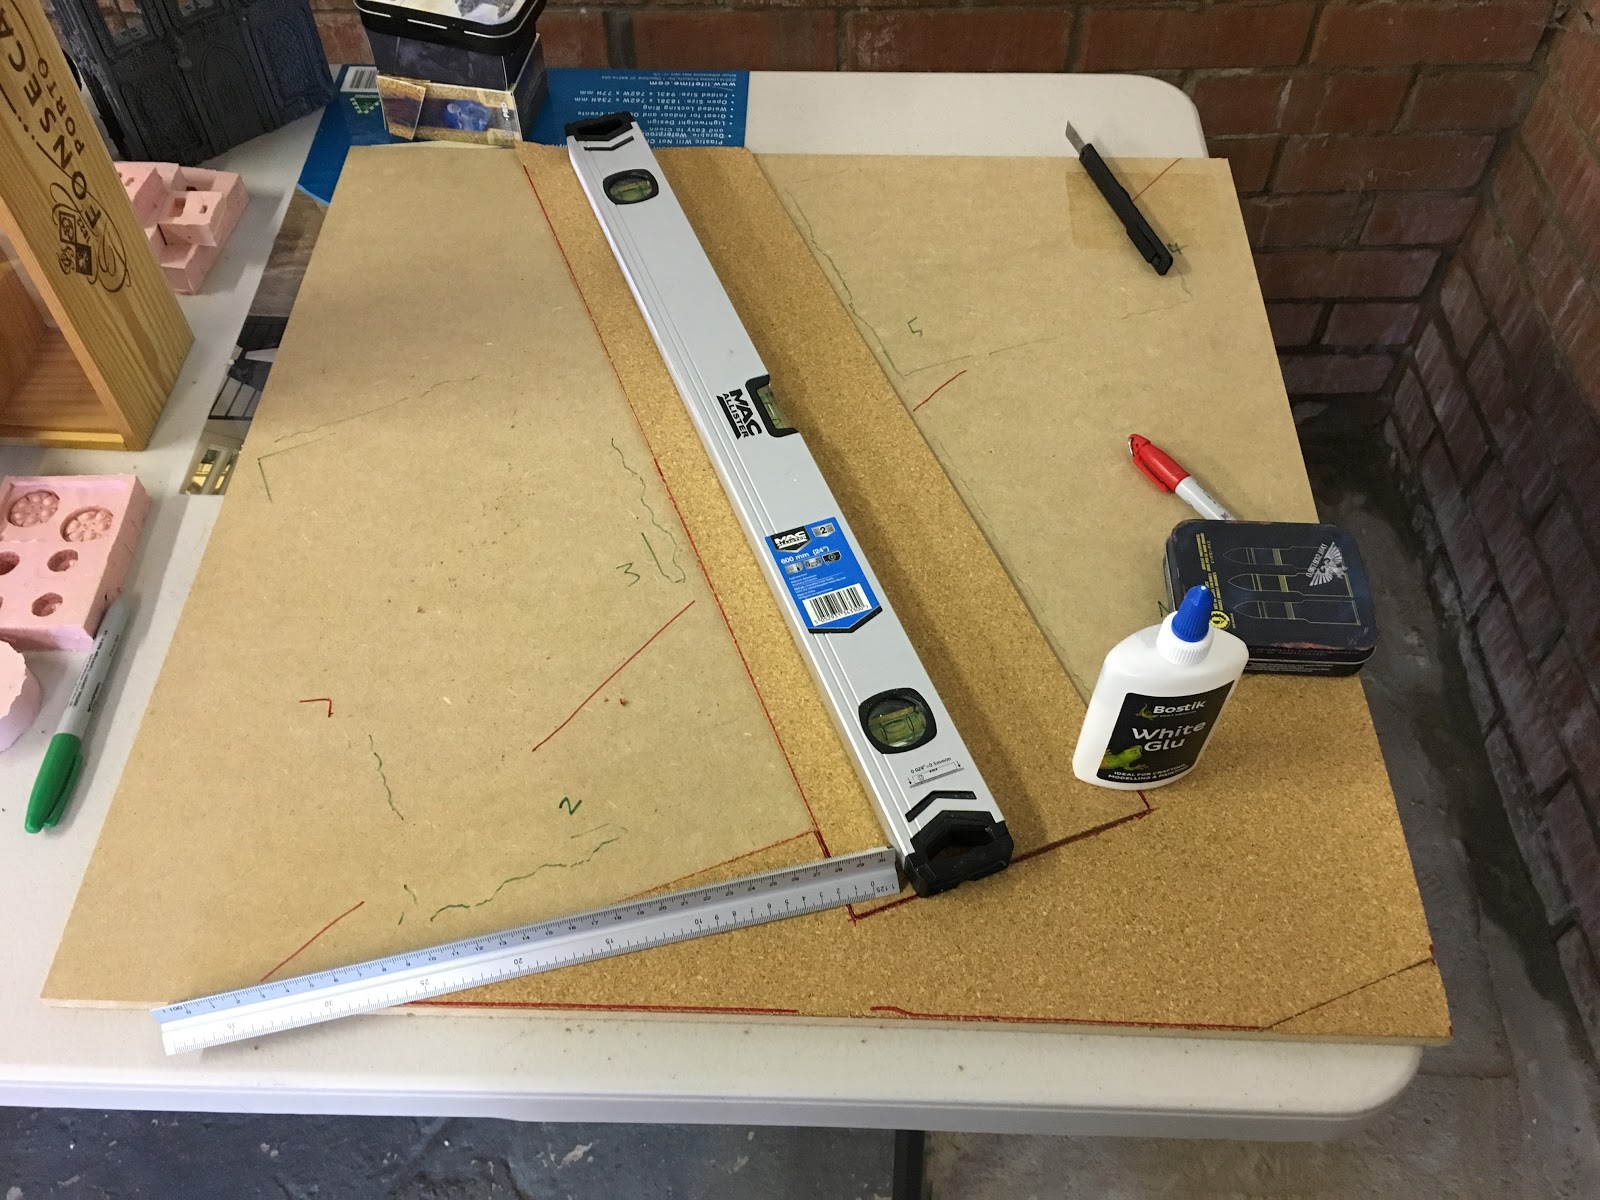
With the design marked out on the MDF base, I started to work on building the broken down flyover. I wanted the roadway to look grand, but also to keep the buildings modular. To do this I used thin cork sheet on the base to raise the road level.


I wanted pillars to sit along the bridge, so using cake pillars, I marked them out along the road evenly.


I used blue insulation foam as the supports. I initially tried to glue these with contact adhesive, however, very quickly I realised that this material melted with the solvents in the glue. I instead switched to white glue, which took a lot longer to dry.


To match the bases on My white scars, I began the painstaking process of cutting and sticking down plasticard 1cm2 tiles to the roadway. I wish I had thought of a simpler way...


I took a break from the tiling to build up the bridge, adding cork sheet to the wooden base, and foamboard walls to the sides.

I used blue insulation foam cut into squares to make the plinths along the roadway.

A quick test fit of the buildings and flyover foundations allowed me to mark out the modular bases for the terrain pieces.

And then I added more tiles...

and more tiles...

and more tiles...

and more tiles!!!

I then test fitted the modular bases.


I added texture using premixed filler


And the build is (Mostly) Complete.

Next up: Undercoating and painting.
Excellent work !
ReplyDeleteFantastic patience on all of those little squares.
Don't forget to paint the foam block with watered down PVA before you do anything to it.